我自己的博客是采用了 hexo + Next 主题搭建完成,并做了一些简单的配置,这边也将全面从 0->1 介绍
# 安装 Node
Node 的官网为 https://nodejs.org/zh-cn/download/
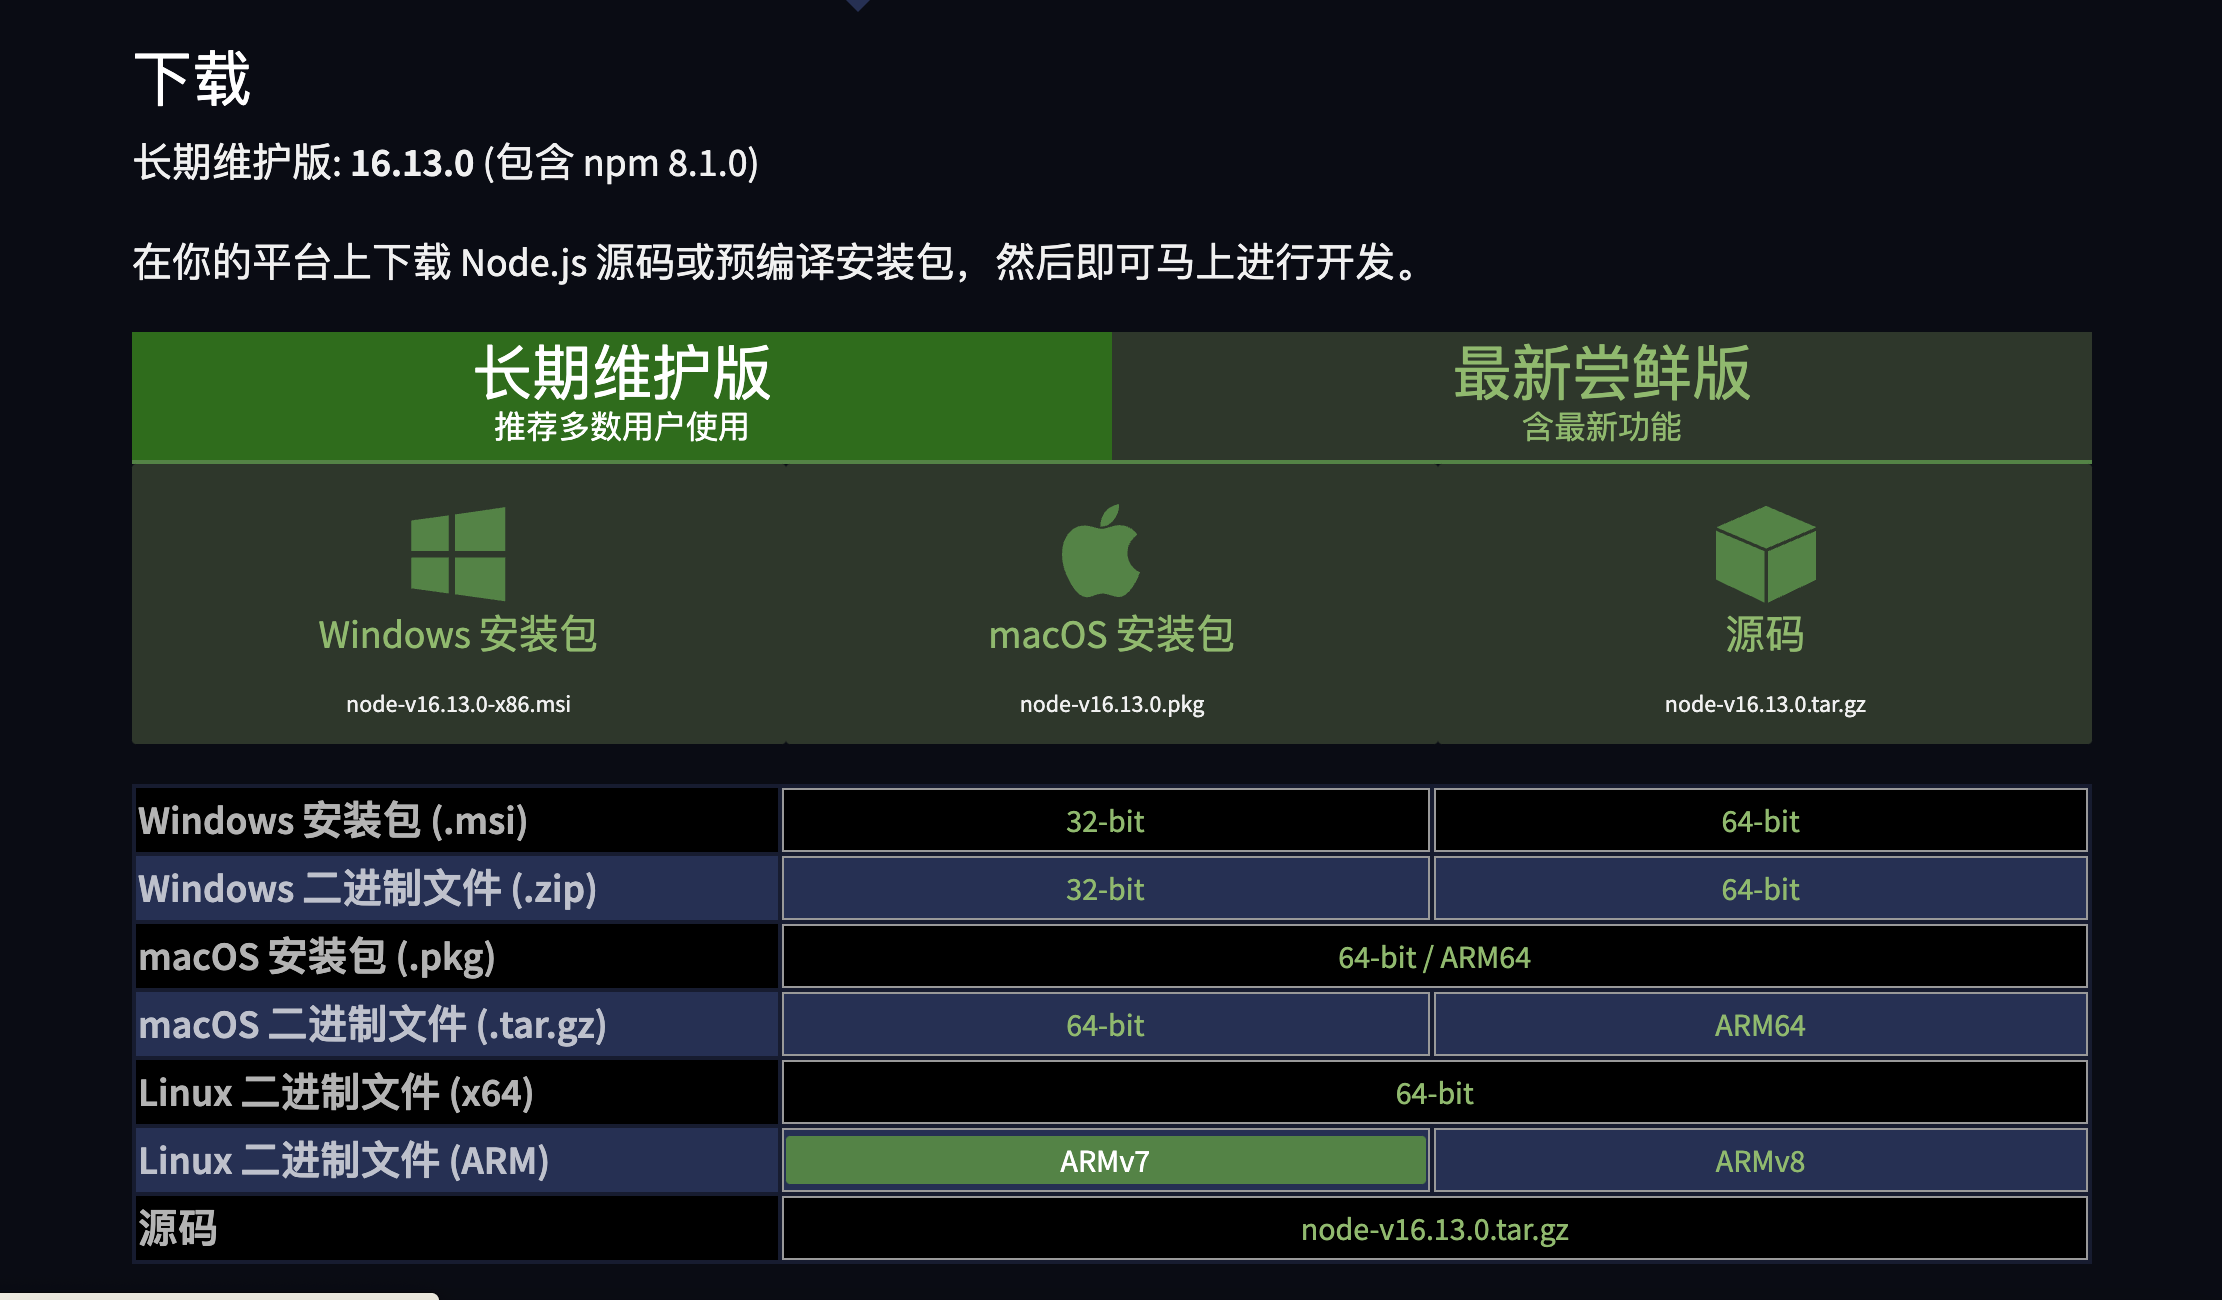
下载自己对应的版本即可,傻瓜式的下一步下一步之后,在终端控制台输入
1 | node -v |
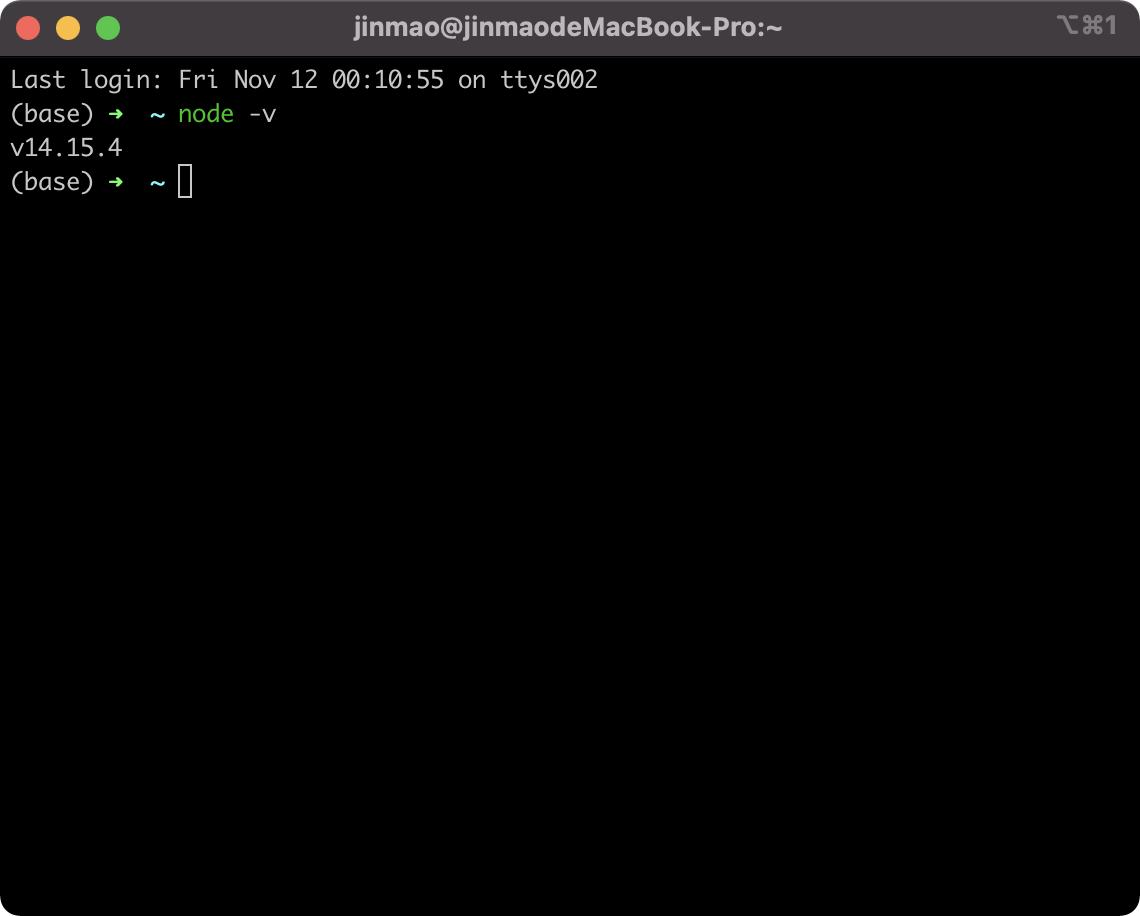
说明安装成功,而在这个时候也会给你安装了 npm 环境,输入
1 | npm -v |
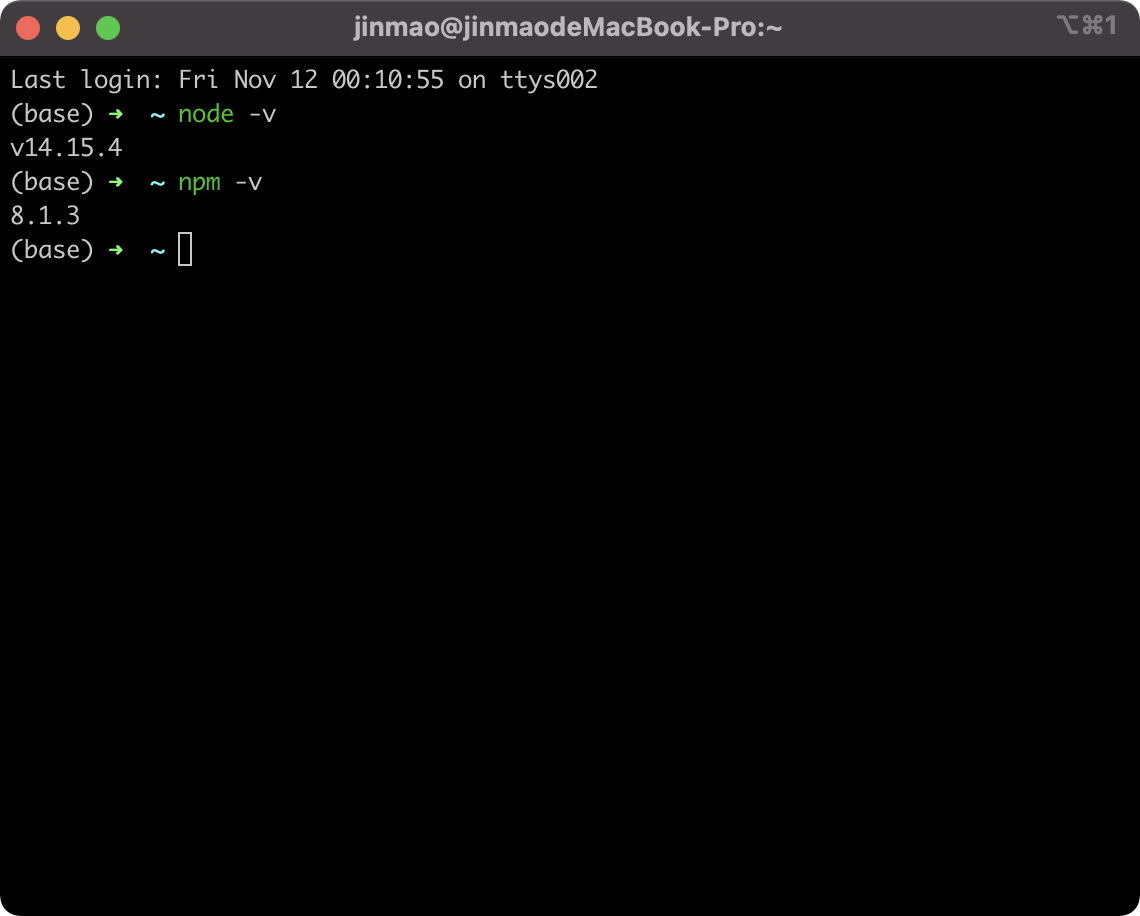
此时我们需要将原生的镜像源换为淘宝镜像源,这样能加快下载速度:
1 | # 设置镜像源 |
Node 环境安装完毕
# 安装 Git 并创建 github pages
git 安装地址 : https://git-scm.com/book/zh/v2 / 起步 - 安装 - Git
github 注册这边也不多赘述,不会的小伙伴可以自行百度
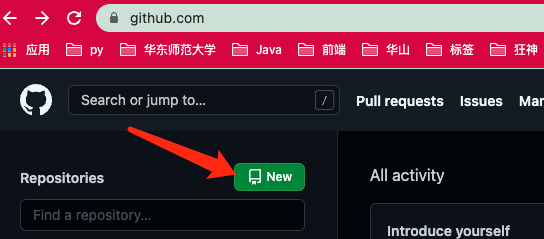
# 创建 github 项目
# 创建 responsibility
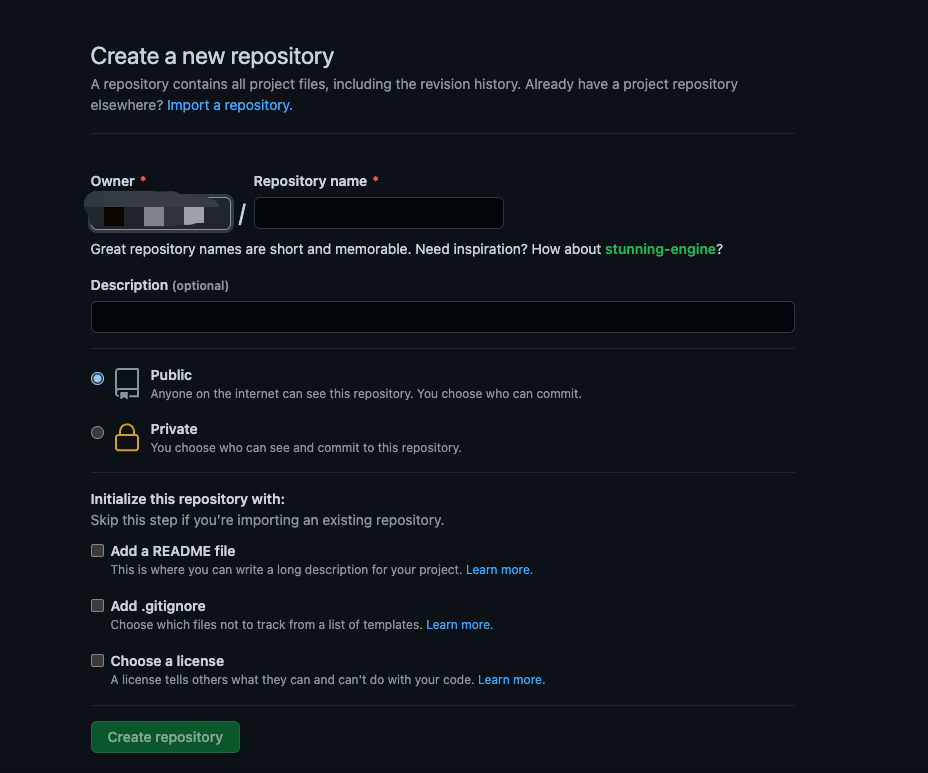
这边我踩了个坑,命名格式好像必须是 owner/owner.github.io
然后 responsibility 就创建好了
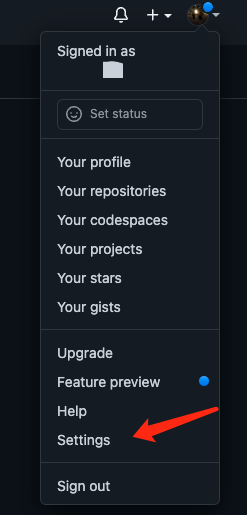
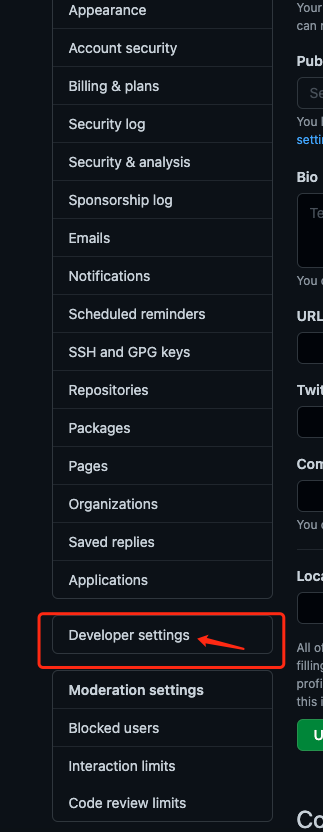
# 生成 token
按照图片步骤创建 token

此时生成的 token 只会显示这一次,尽量复制保存到本地,据说这个 token 不开启 github Page 无法
# 设置 page
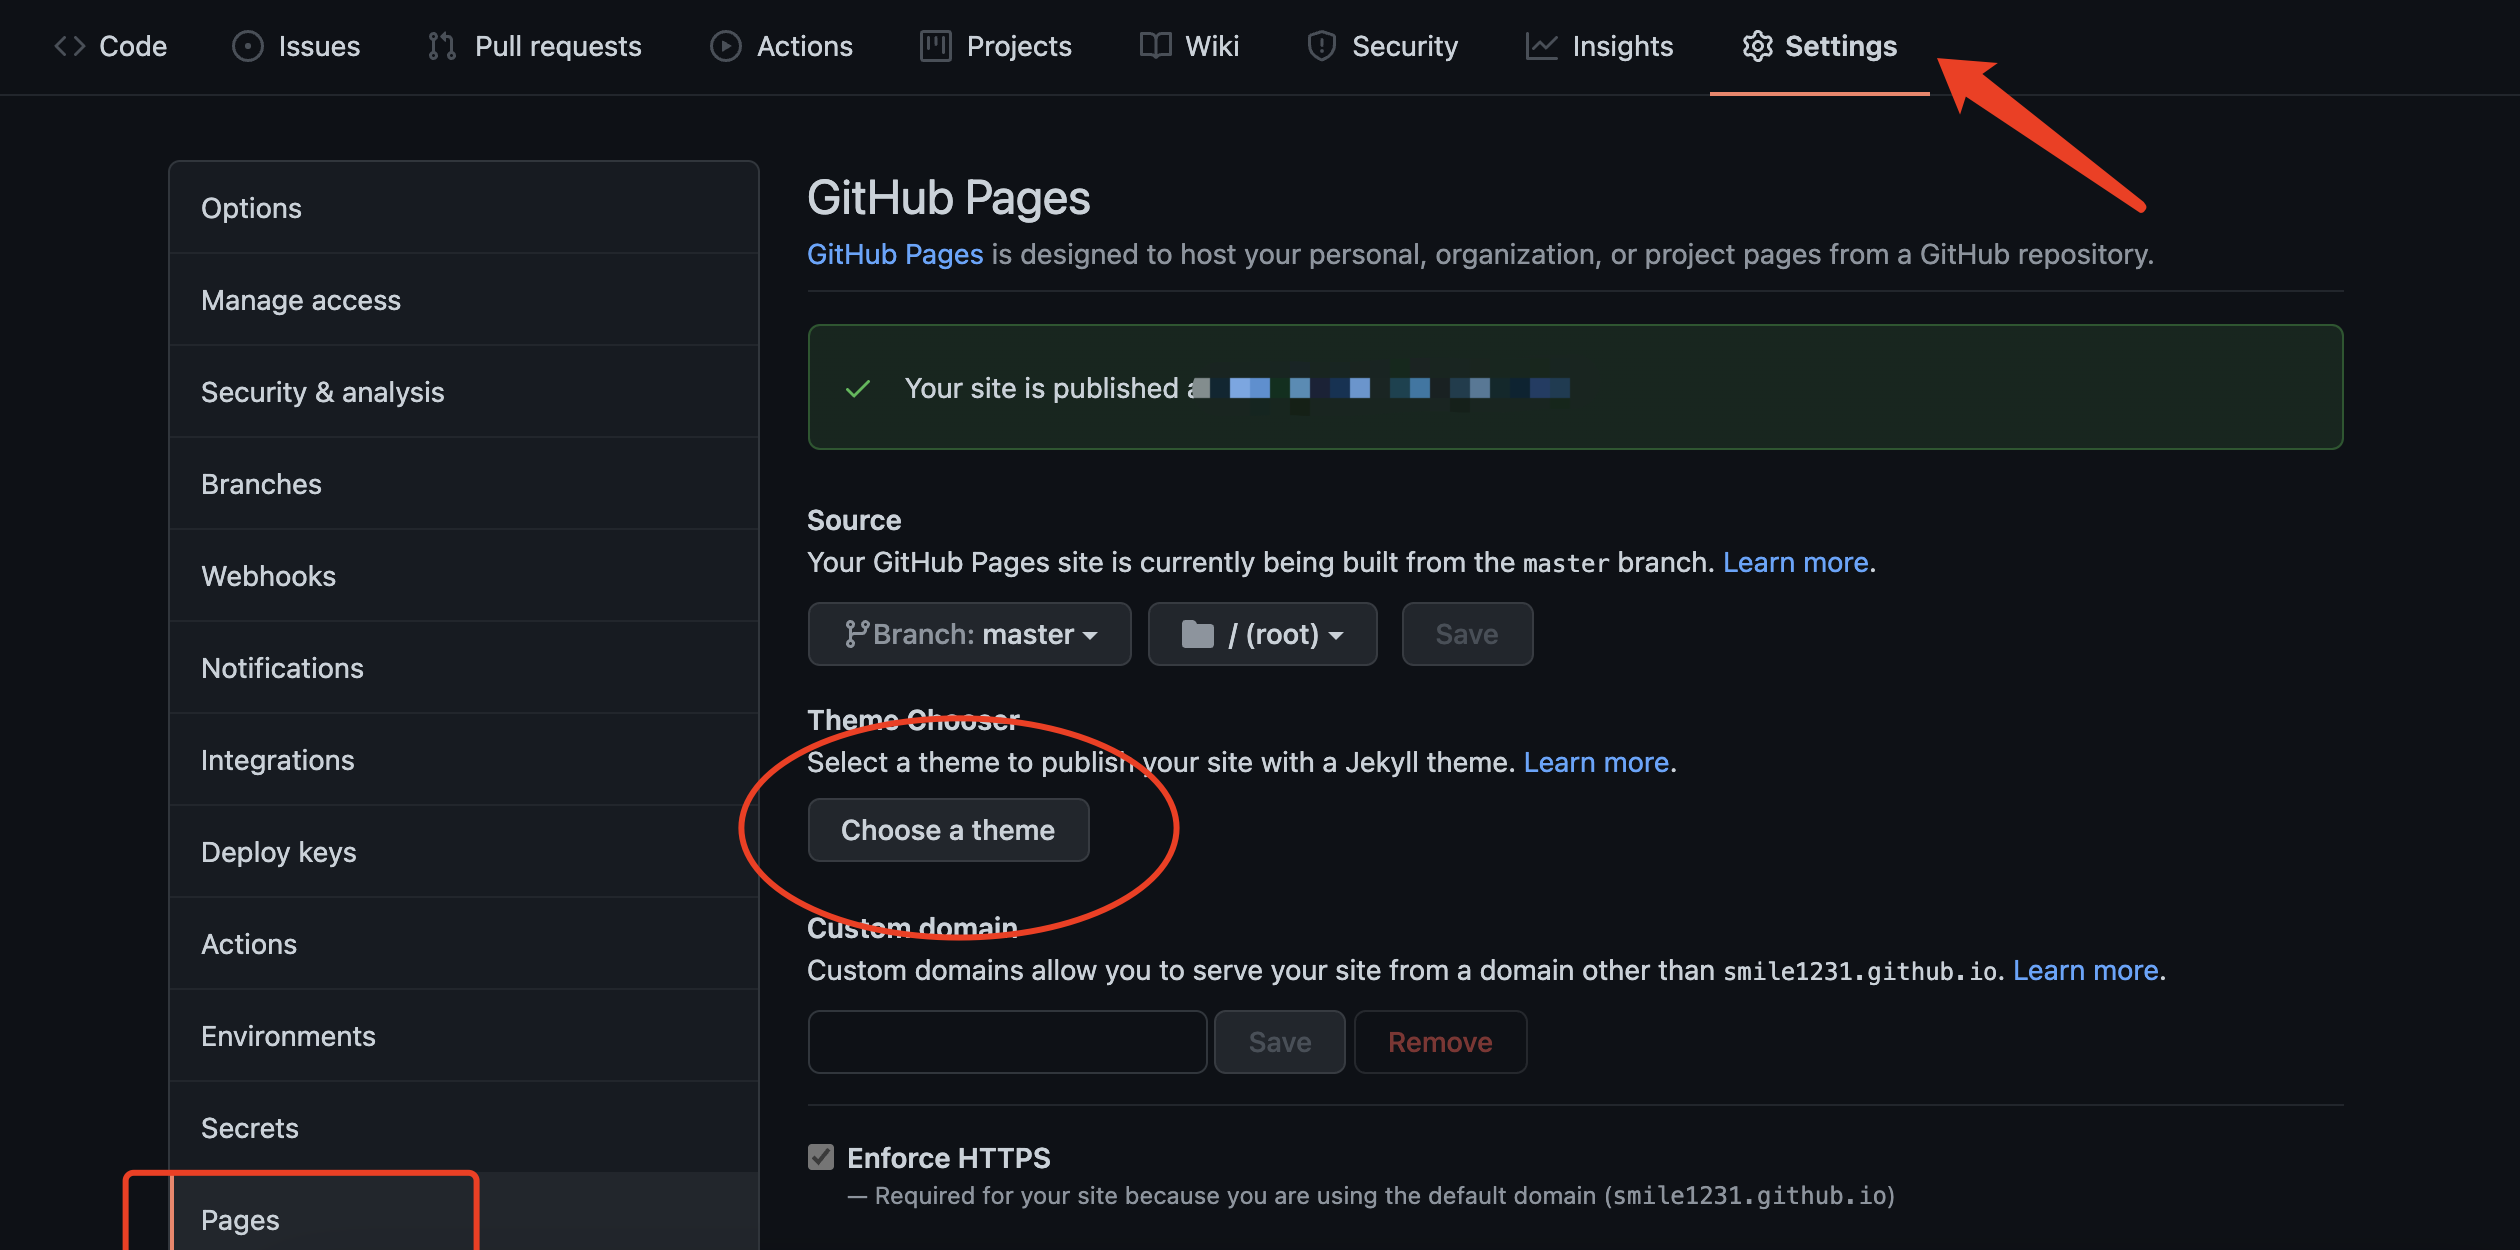
点击 Settings ,向下拉到最后有个 GitHub Pages ,点击 Choose a theme 选择一个主题。然后等一会儿,此时点击图片中打码链接就是你的 GitHub Pages 地址了。应该是会跳出一个页面出来。
# 安装 Hexo
选择一个合适的本地位置存在你的 Blog 源码,比如我就存放在 /Users/jinmao/Documents/Blog/blog_source/ 处,然后输入全局安装 hexo 脚手架
1 | npm install -g hexo-cli |
安装完后输入验证是否安装成功:
1 | hexo -v |
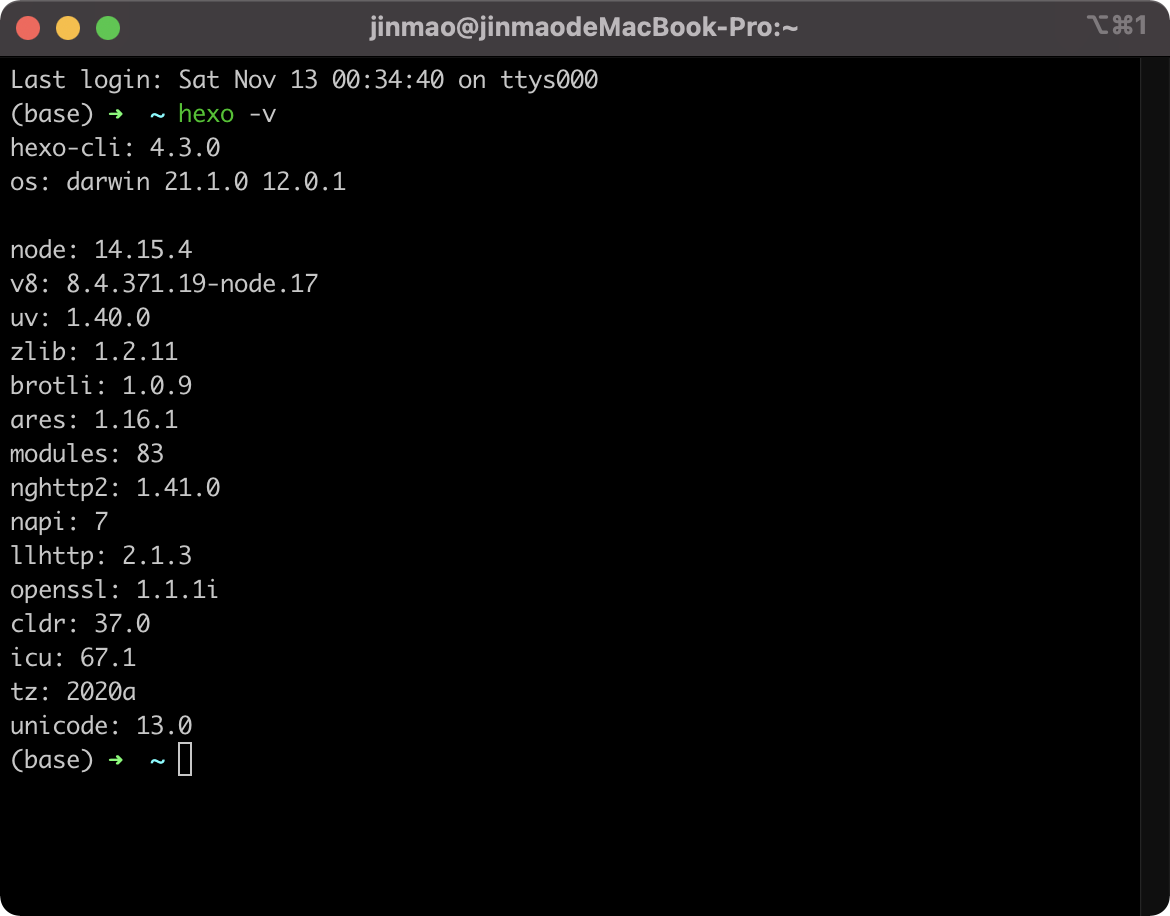
说明安装成功啦!
1 | # hexo 常用指令 |
说明 :运行服务器前需要安装 hexo-server 插件
1 | npm install hexo-server --save |
使用 hexo -d 前需要修改 _config.yml 配置文件,下面以 git 为例进行说明
1 | # Deployment |
# 写文章、发布文章
创建一篇新文章,例如
1 | hexo n "写在最前面" |
然后会在 source/_posts 下生成一个 markdown 文件,在这个文件中使用的是正常的 markdown 语法。
然后依次输入以下步骤:
1 | hexo clean //清理缓存 |

command + 左键 就可以在浏览器中浏览效果了
# 设置背景音乐
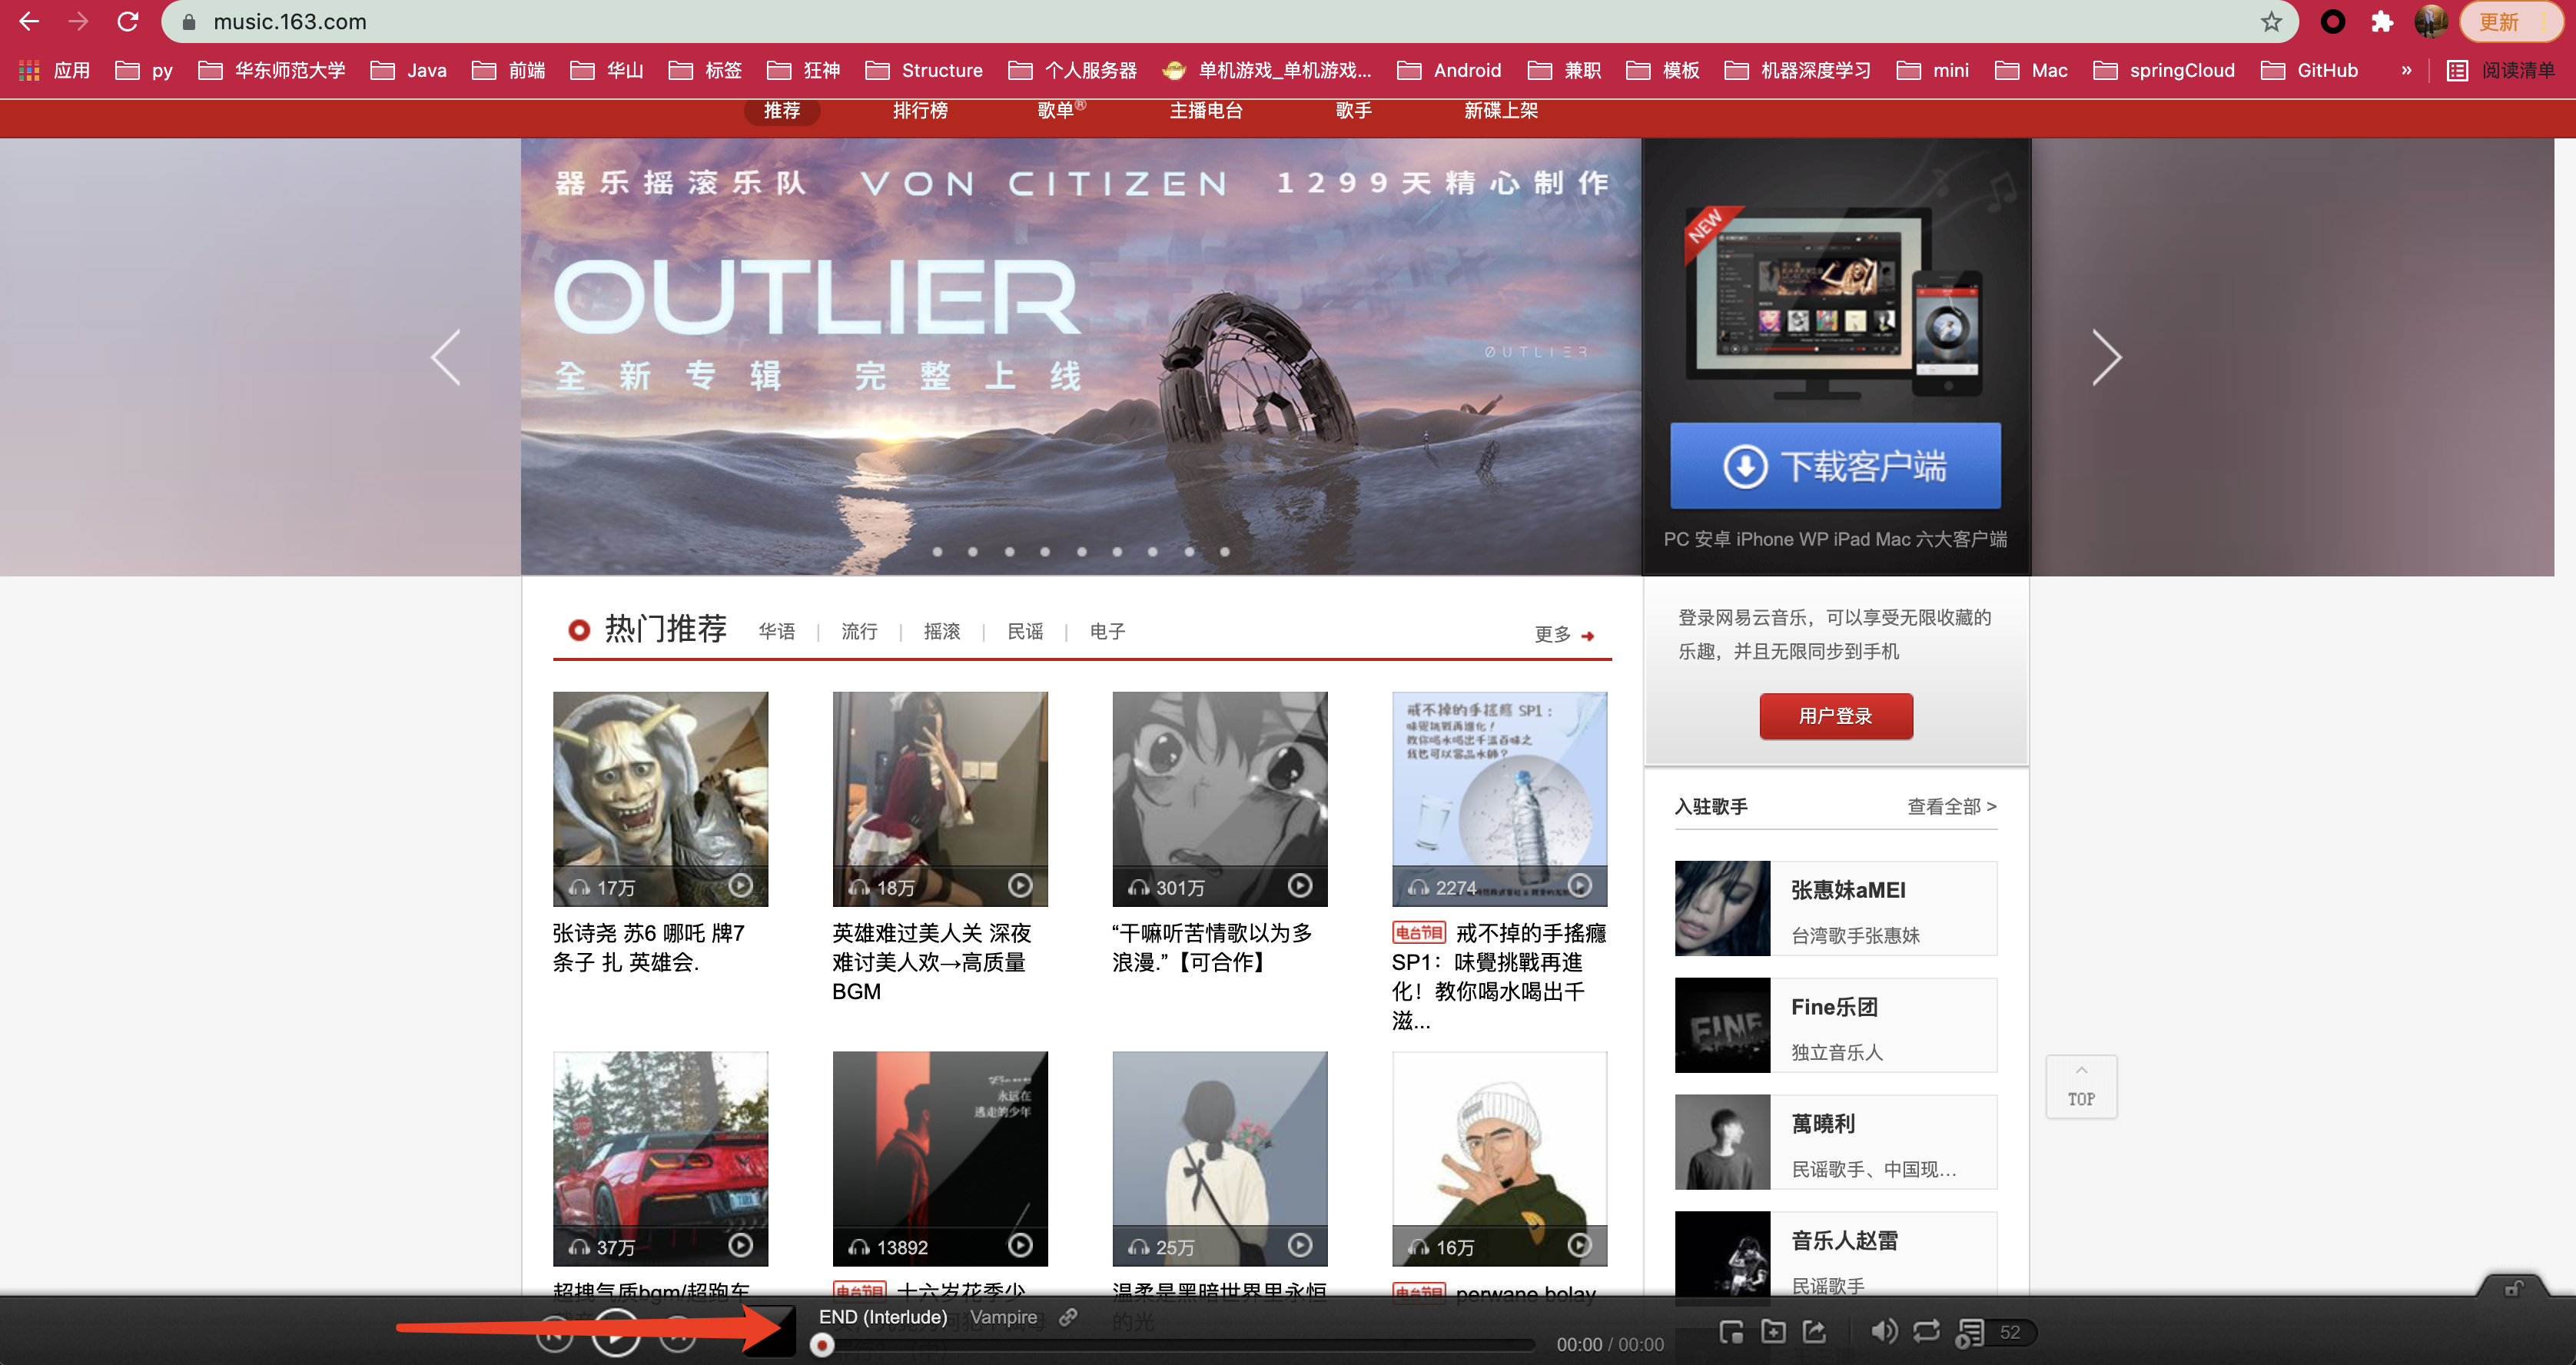
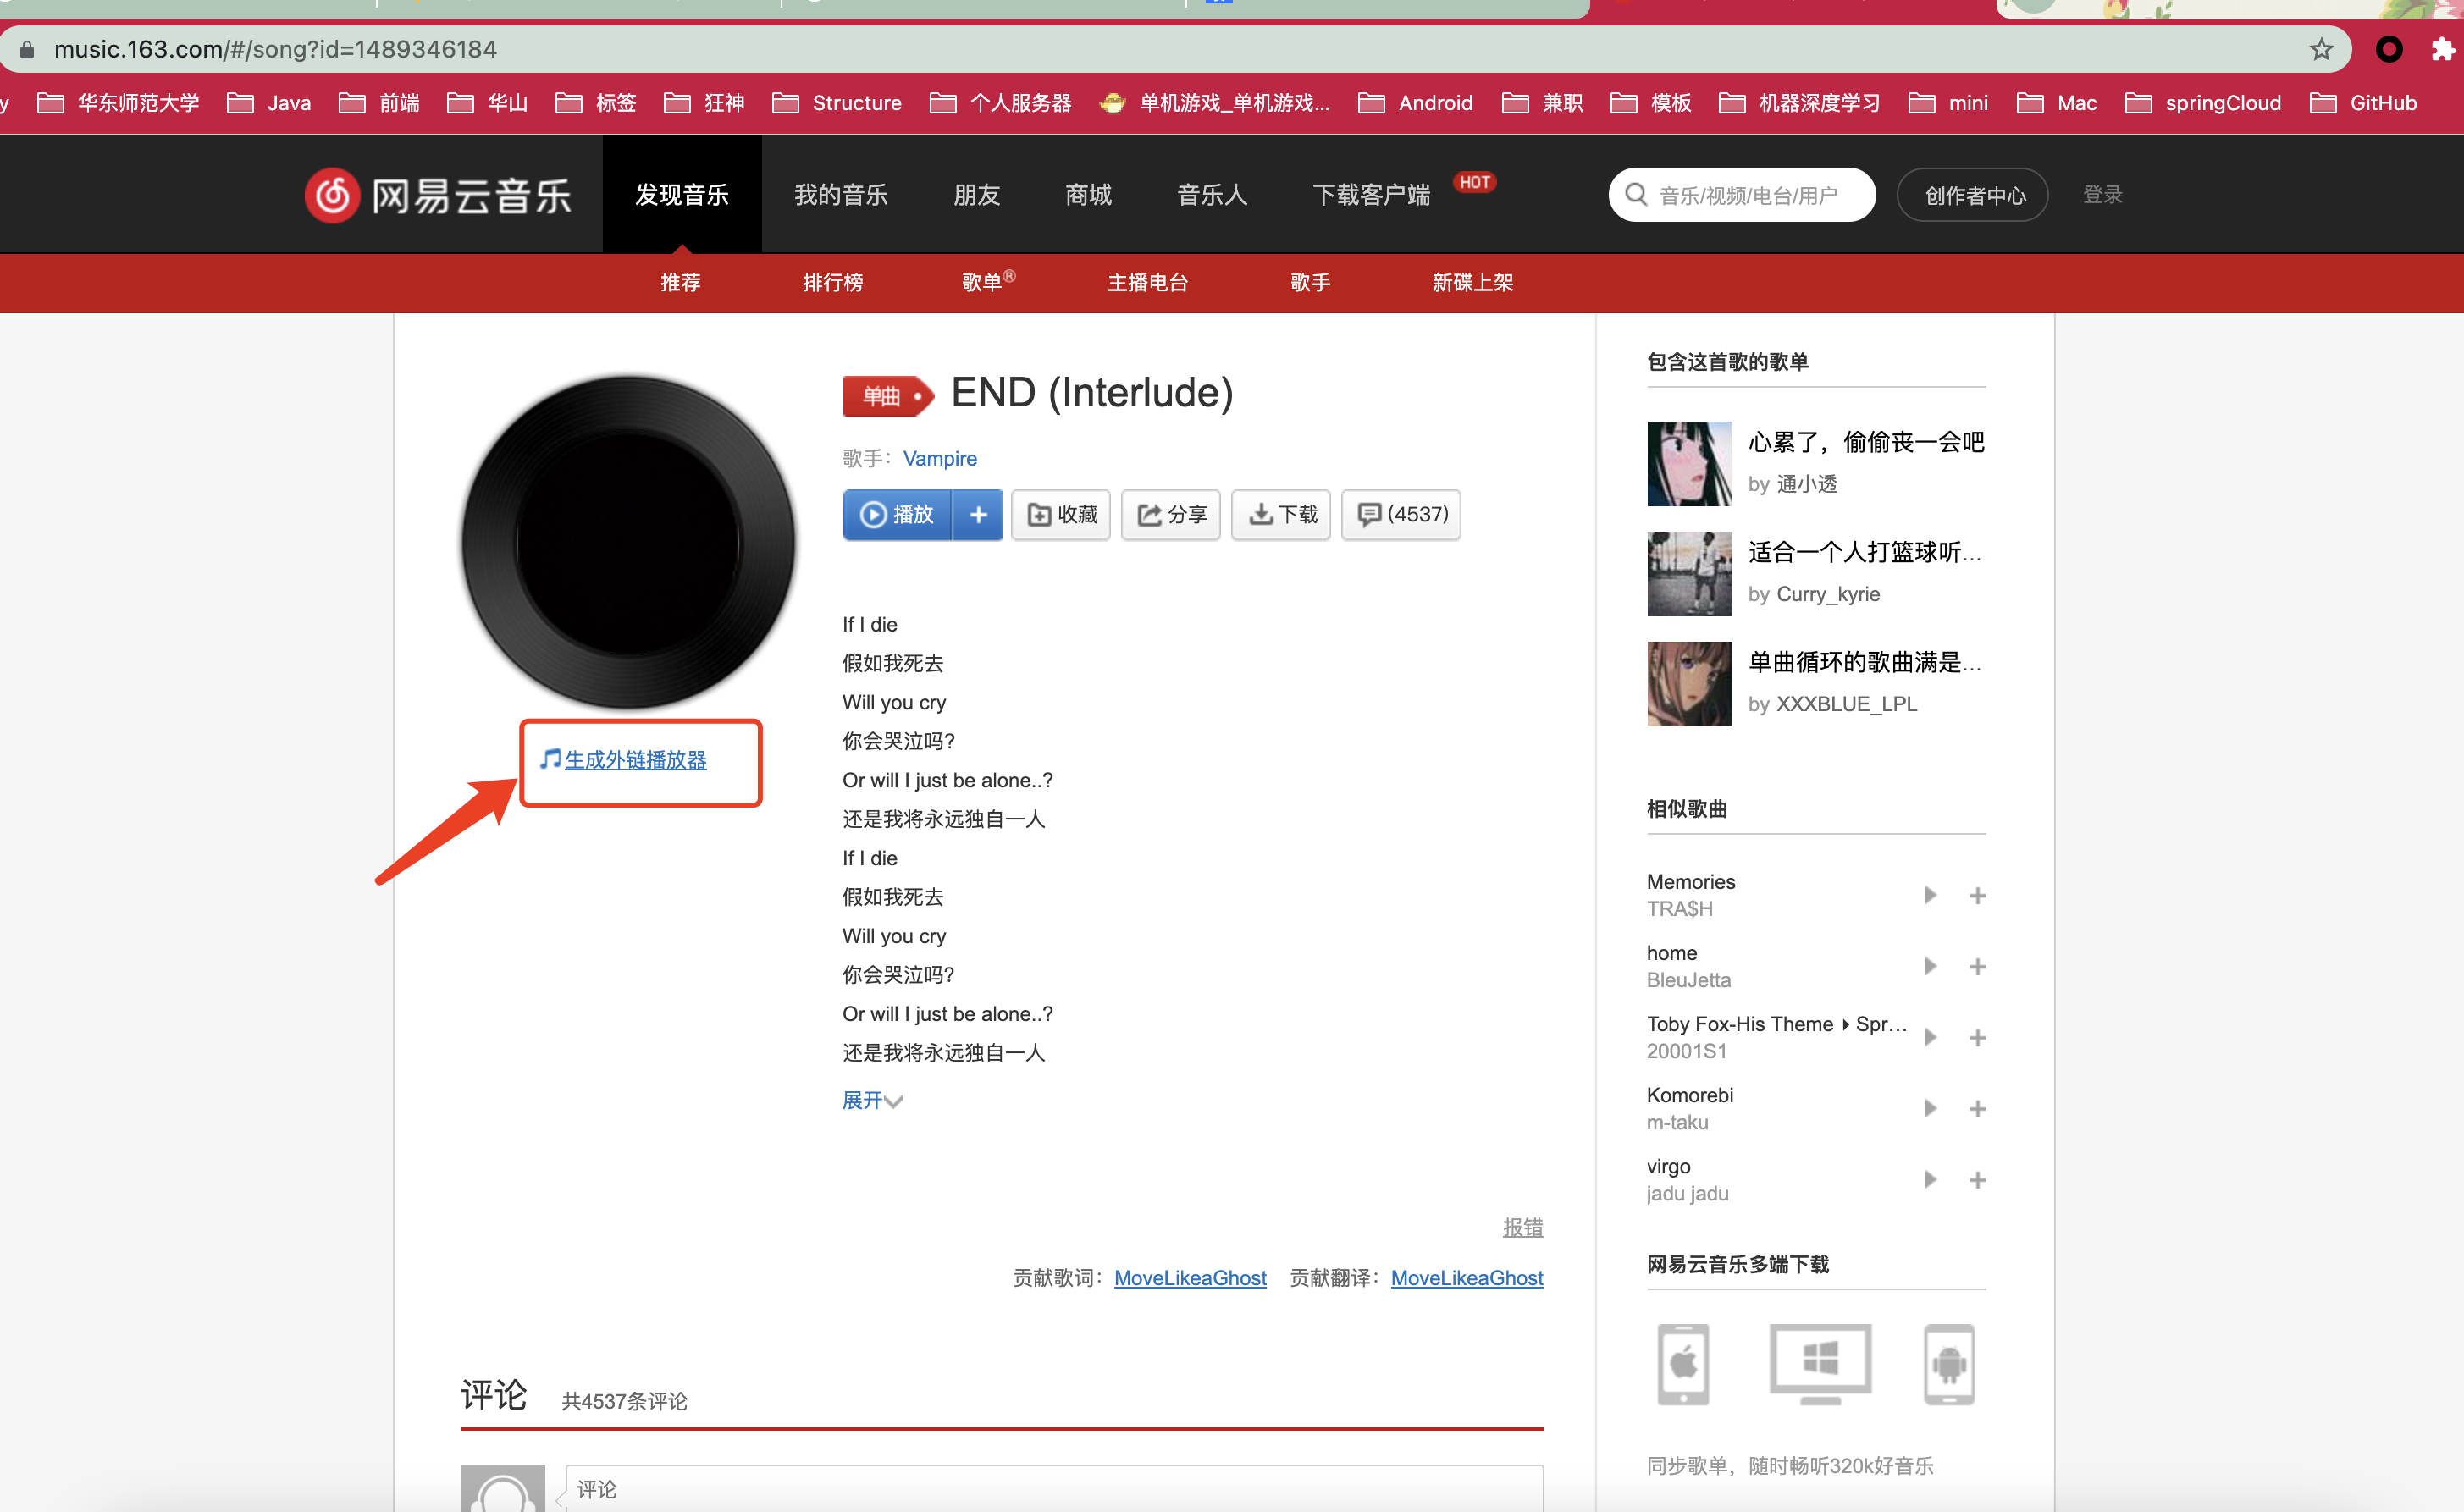
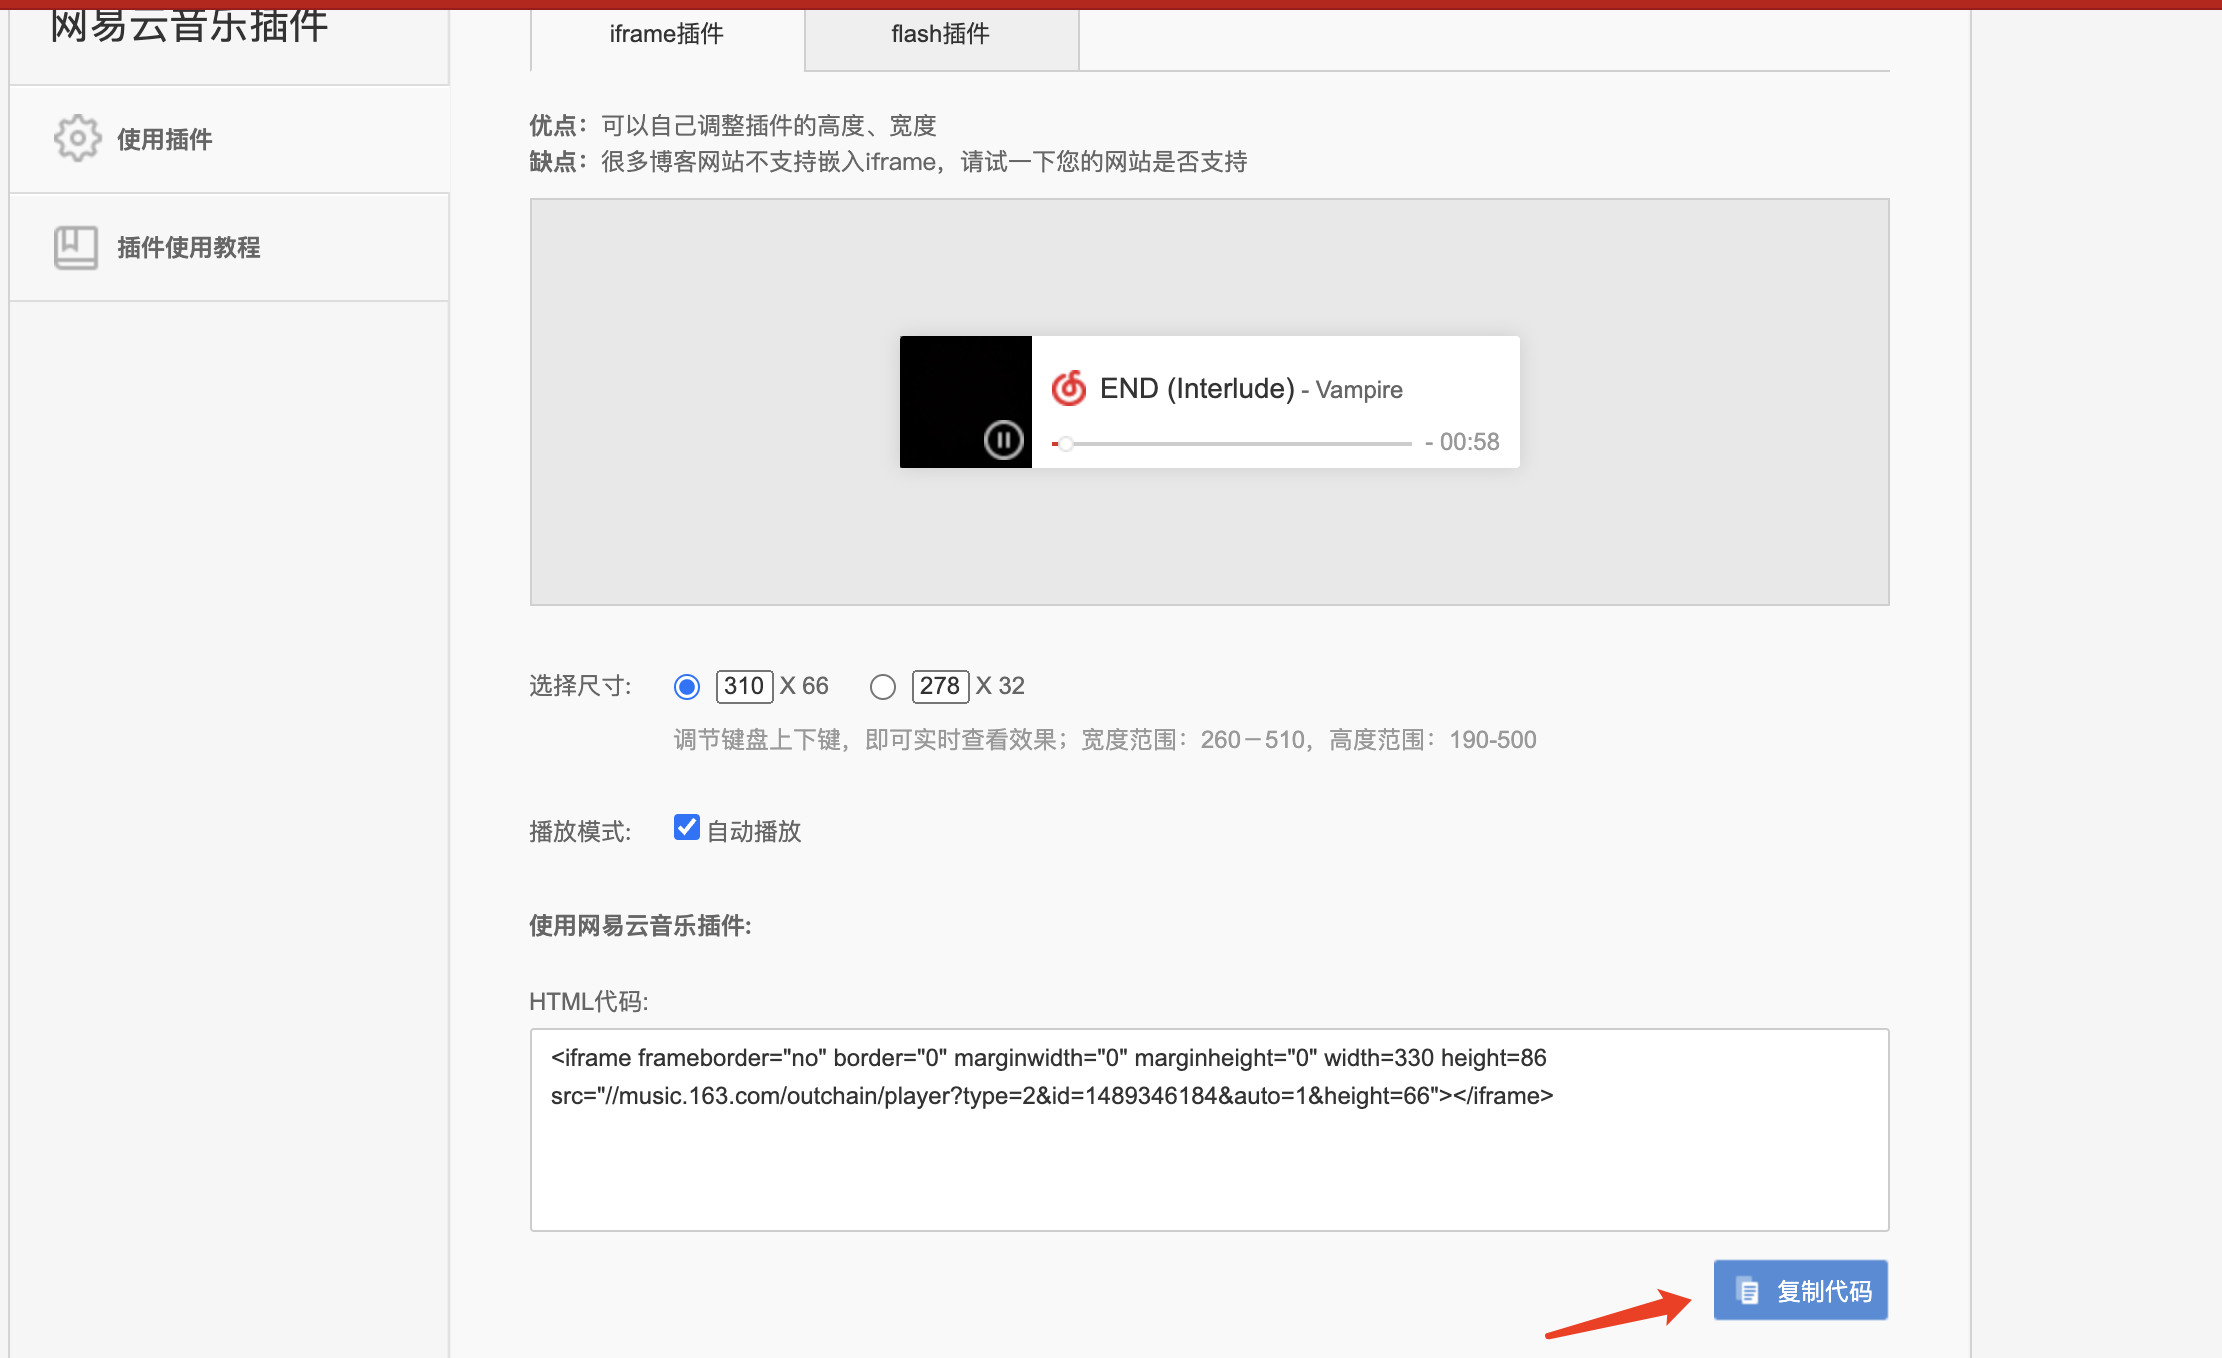
我们将音乐插件添加到侧边栏,效果类似于此 Blog
打开我们主题文件: themes\next\layout\_macro\sidebar.swig找到sidebar-inner
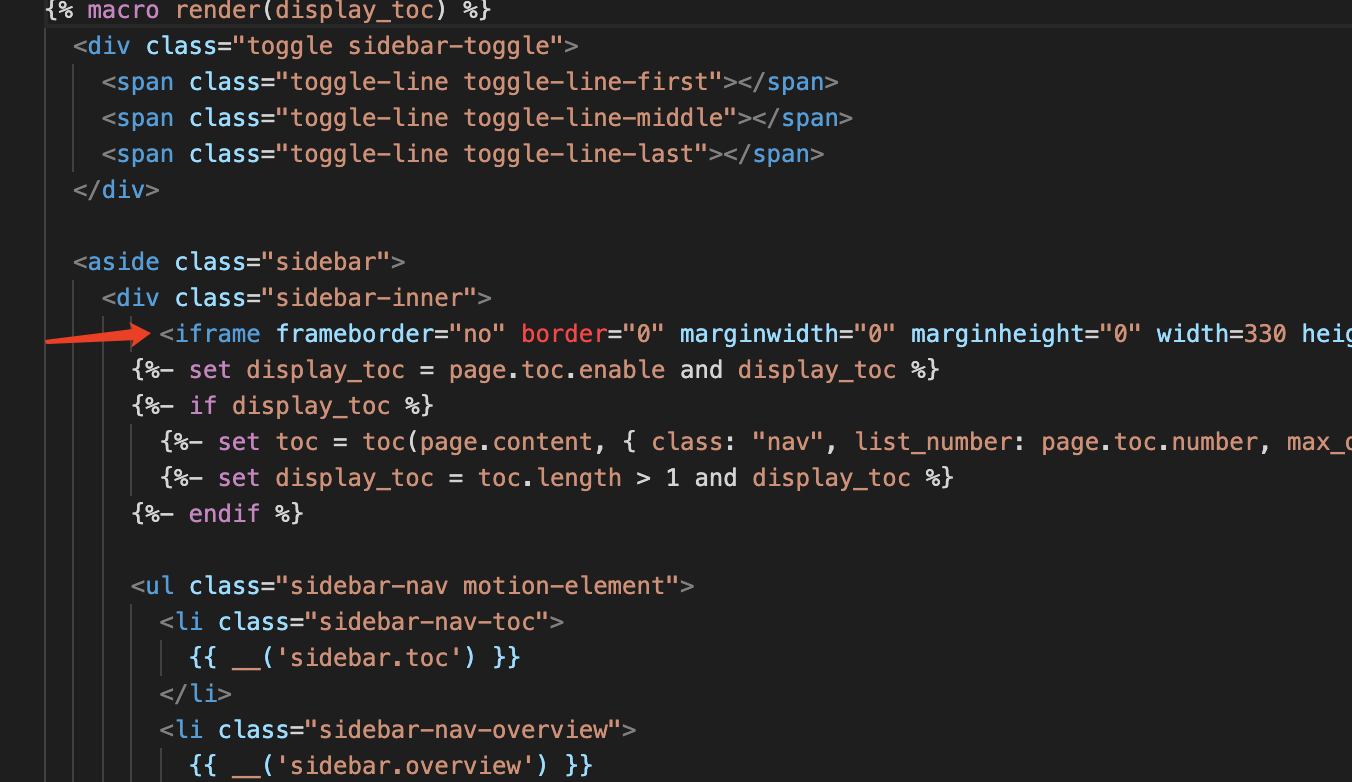
就可以啦!